RF Pairing / Upgrade
Proceed in this order: mount the RF receiver → pair → upgrade the remote.
Mount the RF receiver onto the Power CPU board
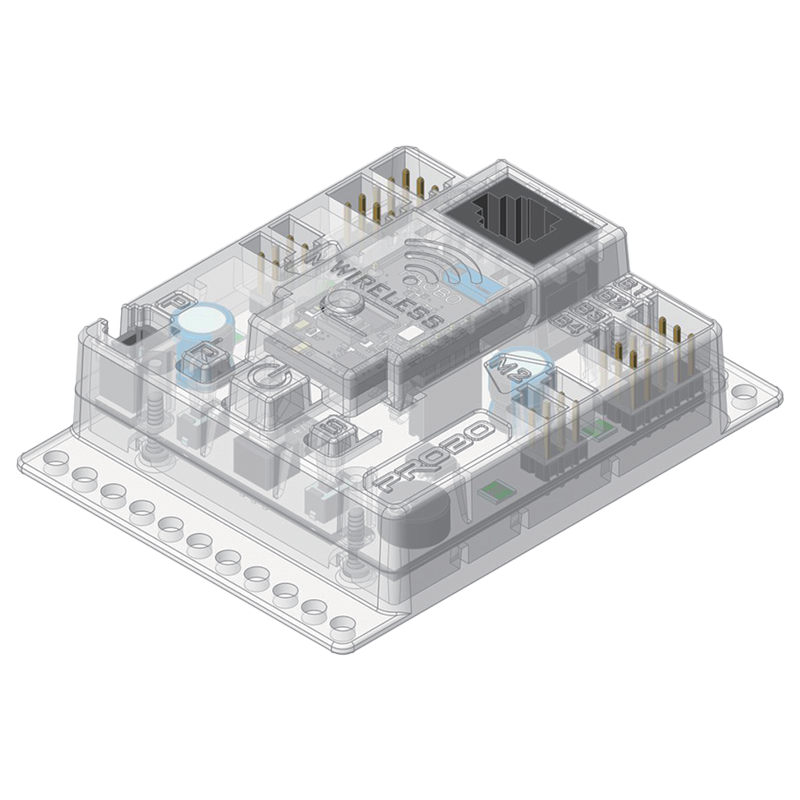
Prepare the standard CPU board.
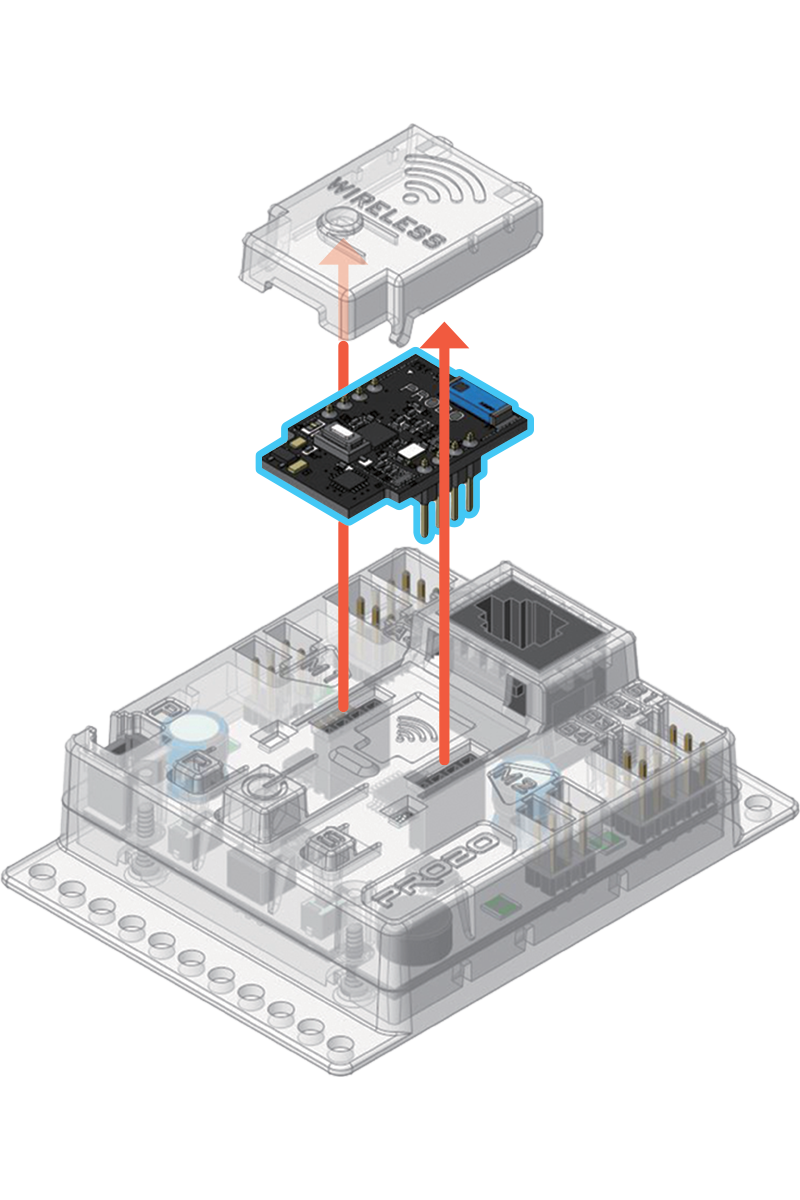
Detach the RF receiver module from the standard CPU board.
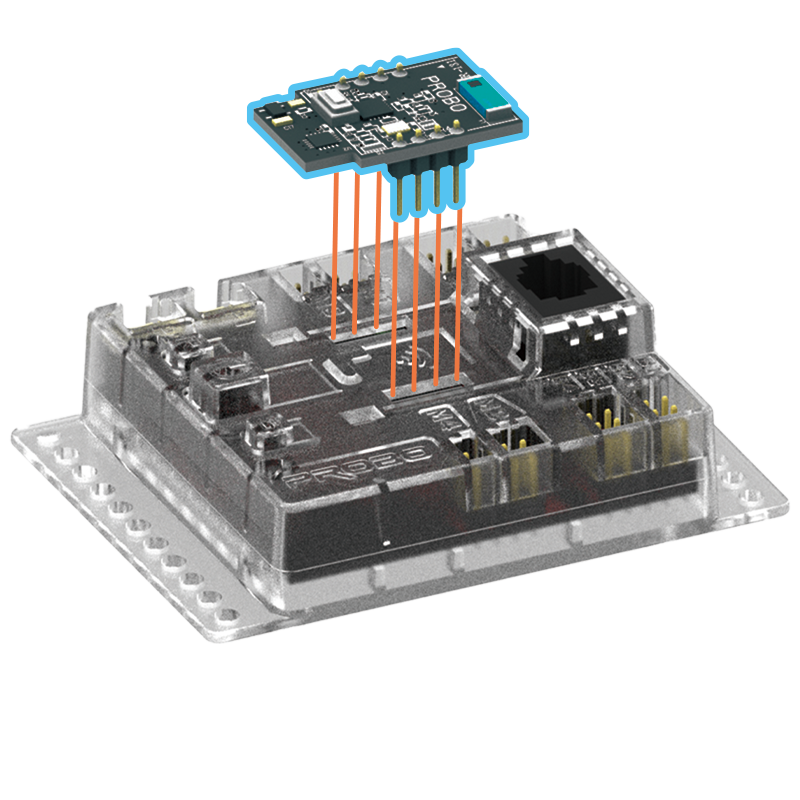
Insert it into the Power CPU board, watching the orientation.
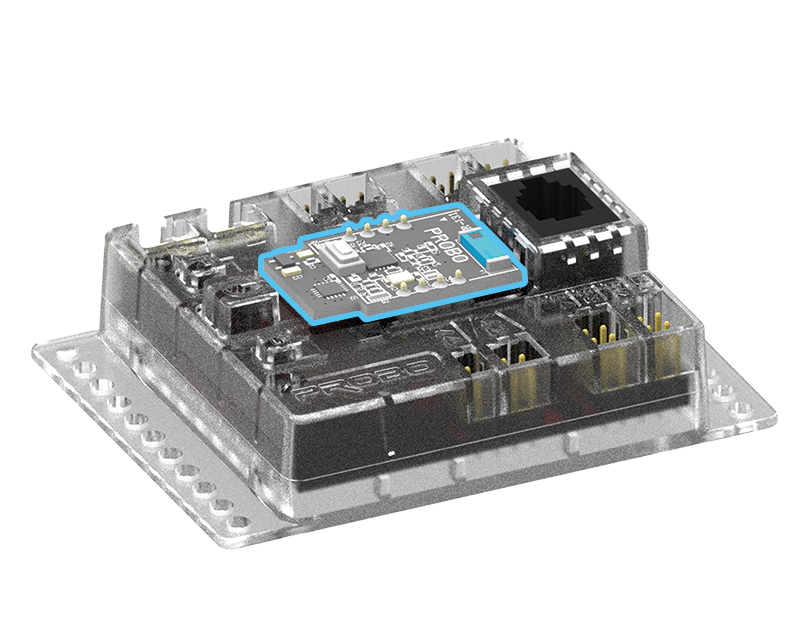
Installation complete!
*Don't disassemble once attached.
How to pair
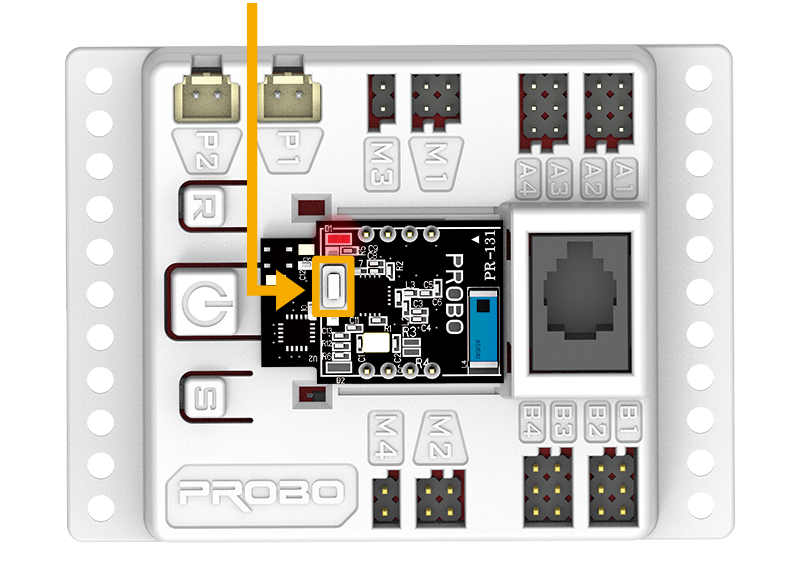
Located on the side of the RF receiver module. Press once when pairing.
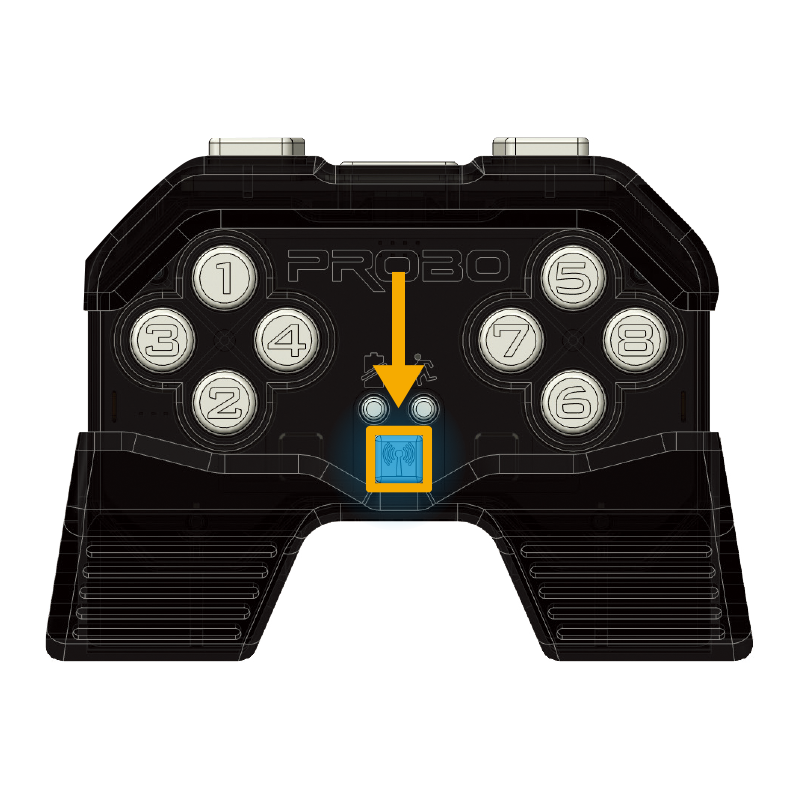
Located on the back of the remote. Press right after the RF receiver button.
Power on
Power on the RF remote and the Power CPU board. The RF receiver module's LED blinks slowly while searching for a signal.
Press switches in order
Press the RF receiver module first, then the RF remote, once each. The LEDs blink rapidly while syncing.
Verify completion
If the LEDs stay on, pairing is complete. Check that the receiver LED responds when you press remote buttons.
Upgrade the RF Remote
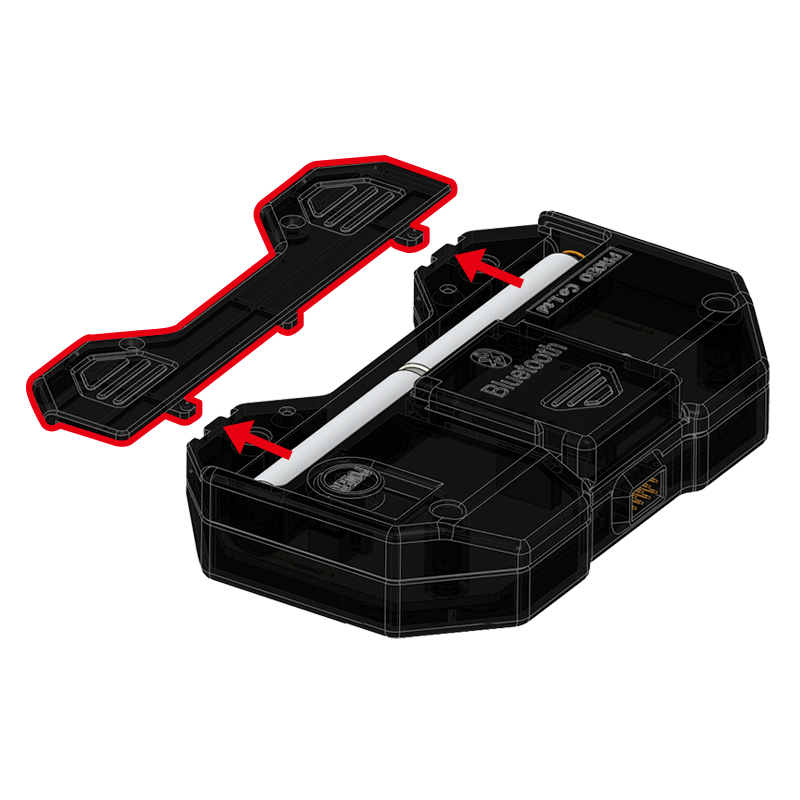
Remove the back cover of the remote.
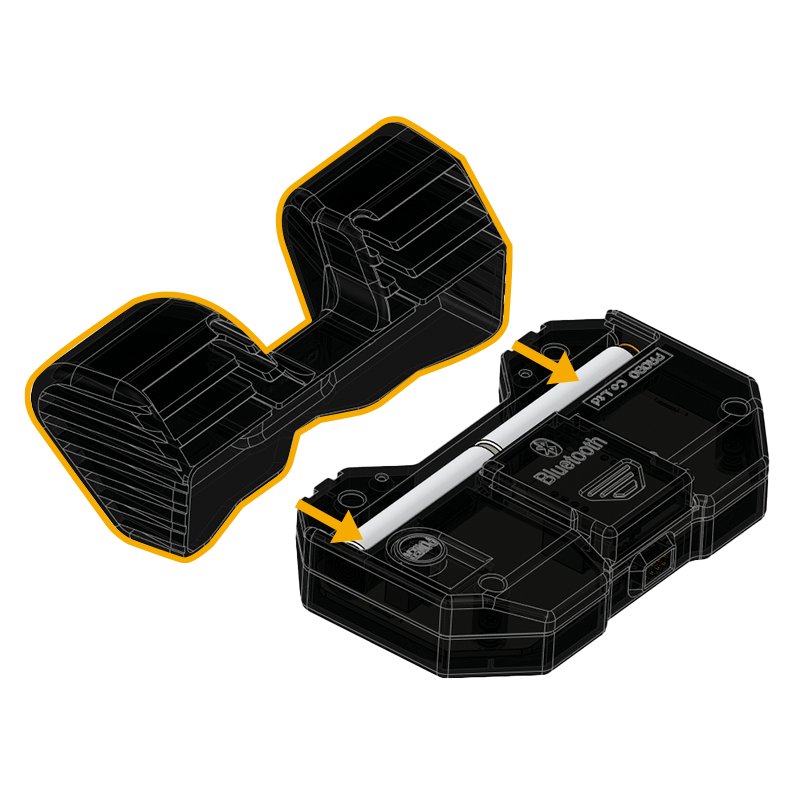
Mount the RF grip module.
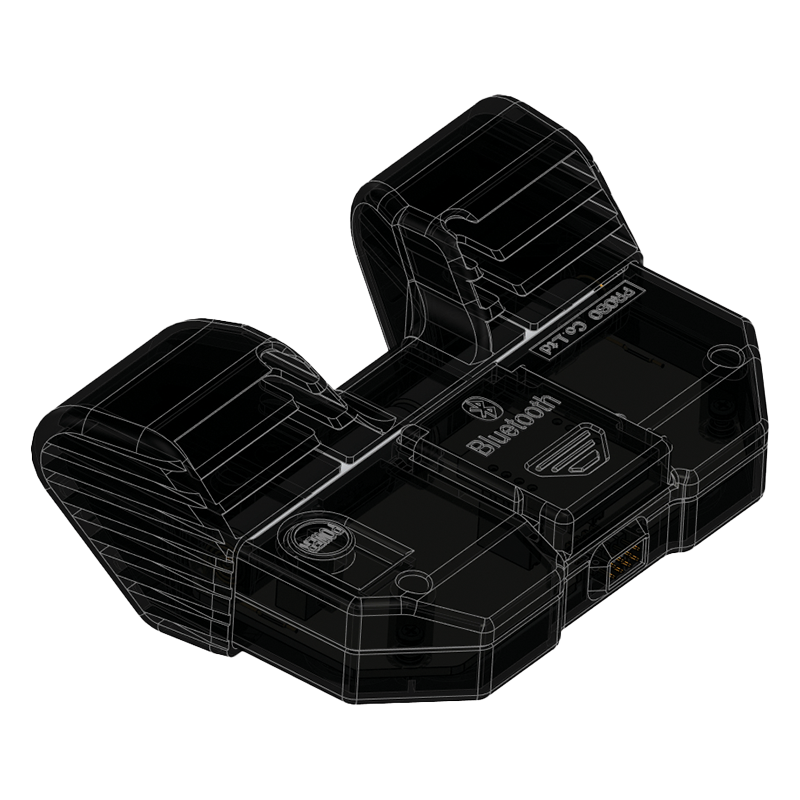
RF grip module installed!
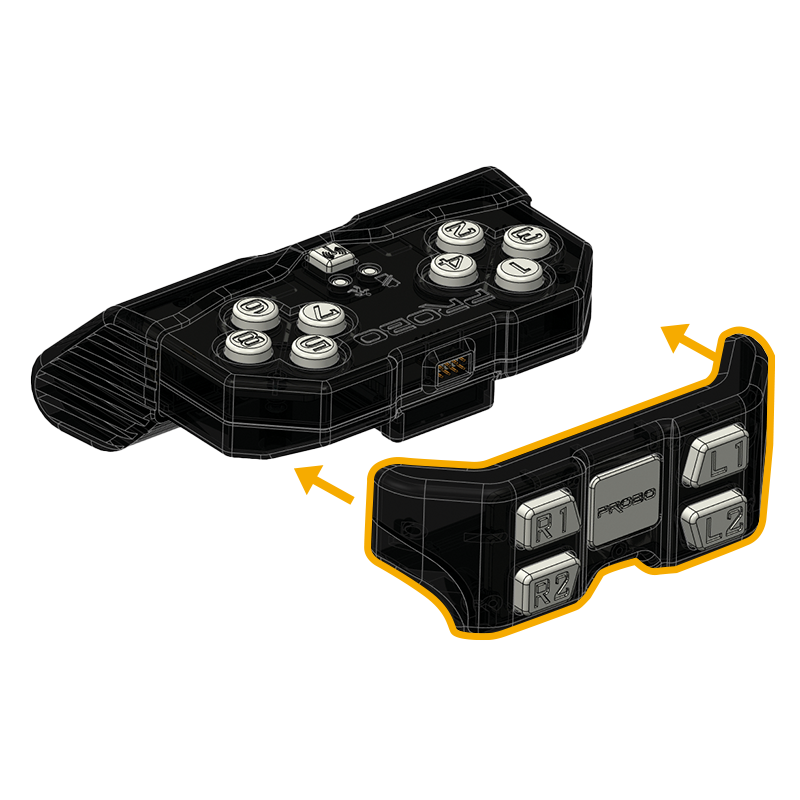
Align the RF extension module to the front of the pins and mount it.
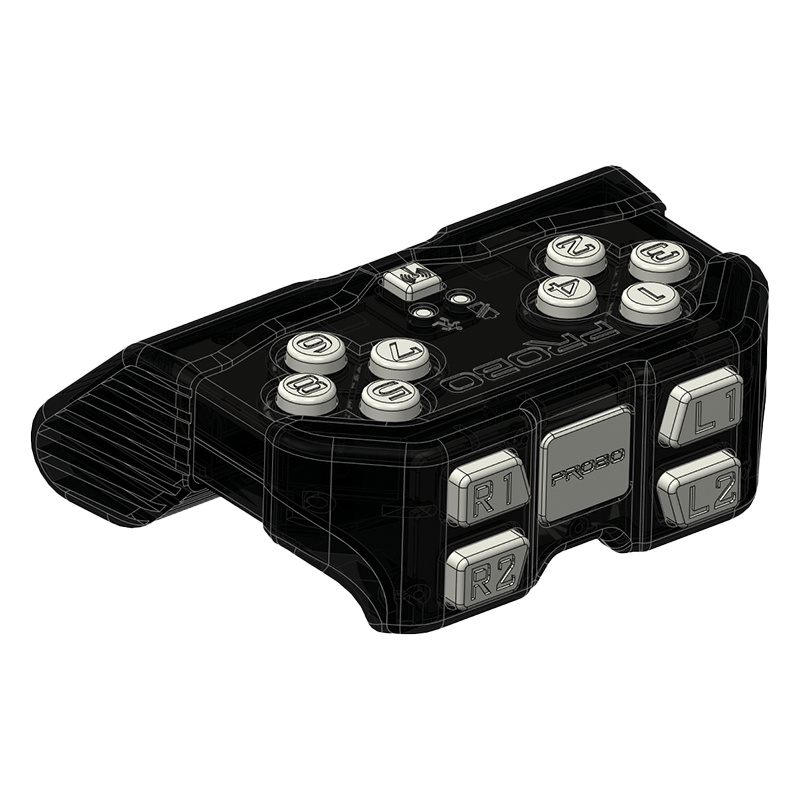
Don't disassemble after mounting.
*Frequent disassembly can loosen or break it.
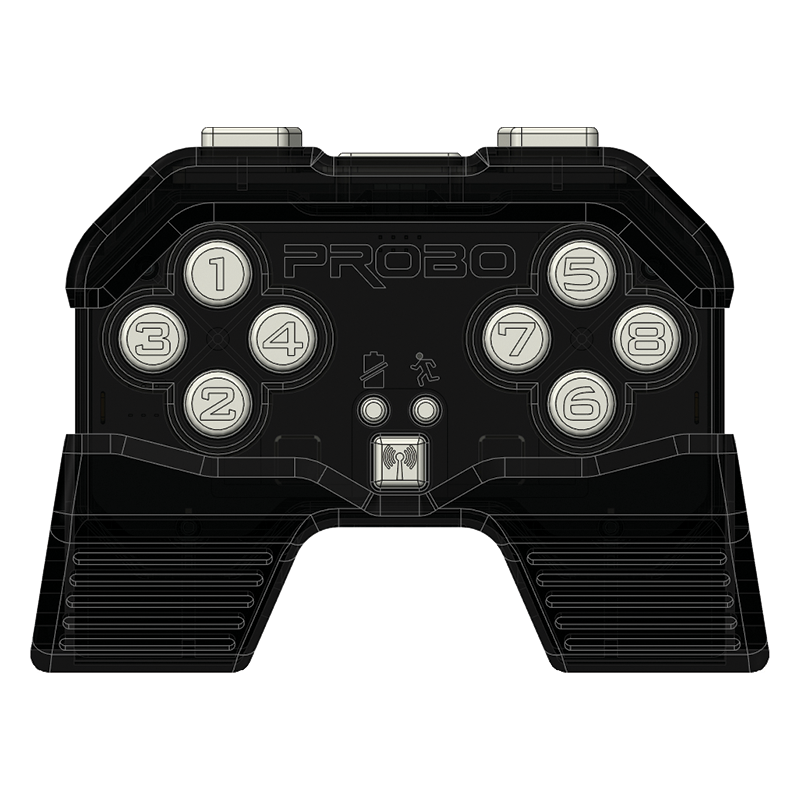
RF extension module installed!